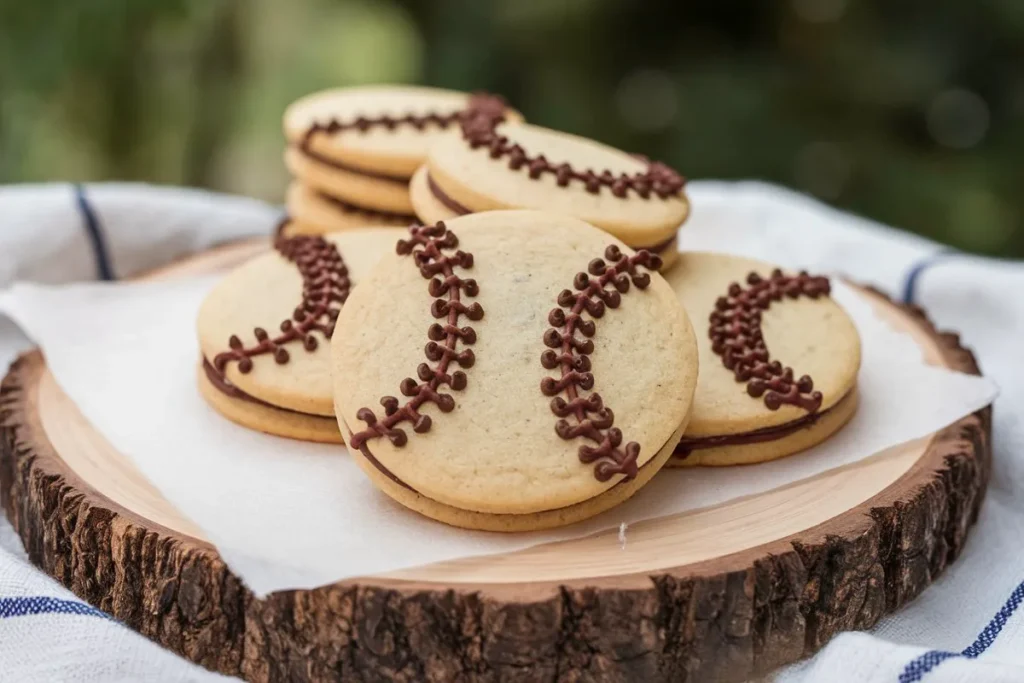
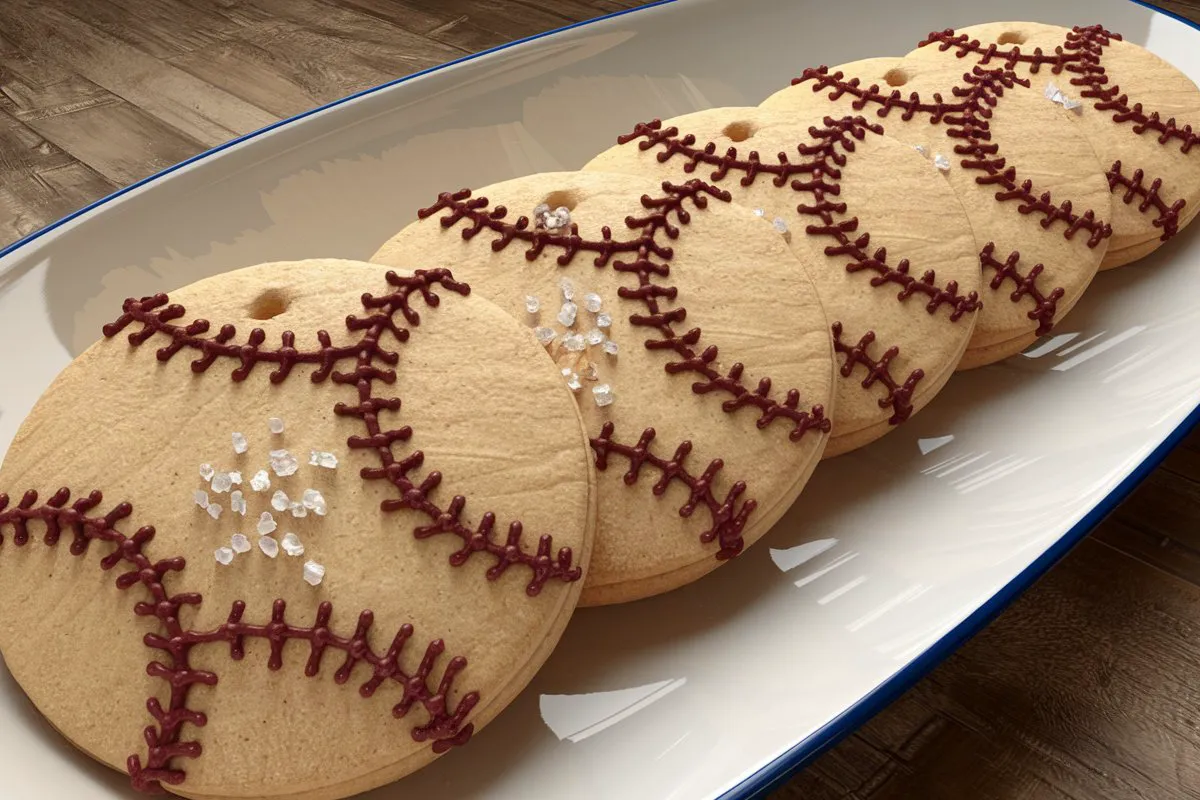
Whether you’re throwing a baseball-themed party, celebrating the big game, or simply want a creative dessert, baseball cookies are the perfect treat. These delightful cookies combine the fun of sports with a sweet and simple recipe that’s sure to be a hit with everyone, from kids to adults. And the best part? They’re easy to make and even more fun to decorate!
In this detailed guide, we’ll show you how to create delicious baseball cookies step by step. With easy-to-find ingredients and some creative decorating tips, you’ll be able to bake cookies that look just like little baseballs, perfect for game day, parties, or a special treat for the sports fan in your life.
Let’s get started with this fun and delicious baseball cookies recipe!
Why Baseball Cookies?
What makes baseball cookies so special? First of all, they’re a creative way to celebrate the sport. If you or your family are big fans of baseball, these cookies are a great way to bring the spirit of the game into the kitchen. Not only do they look fantastic, but they also taste great—crispy on the outside, soft on the inside, and bursting with flavor.
The simple sugar cookie base makes it easy to shape and decorate, and using royal icing or frosting lets you add those iconic red stitching patterns that make these cookies stand out. Whether you’re hosting a party or just want to bring a smile to someone’s face, baseball cookies are a home run every time.
Now, let’s gather all the ingredients you’ll need to create these tasty treats.

Ingredients for Baseball Cookies
Before diving into the process, make sure you have all your ingredients ready. The following recipe yields about 24 cookies, but you can easily double or halve the quantities depending on your needs.
For the Cookies:
- 2 1/2 cups all-purpose flour
- 1 cup unsalted butter (softened)
- 1 cup granulated sugar
- 1 large egg
- 1 teaspoon vanilla extract
- 1/2 teaspoon almond extract (optional, for extra flavor)
- 1/2 teaspoon baking powder
- 1/4 teaspoon salt
For the Icing:
- 3 cups powdered sugar
- 2 large egg whites (or meringue powder substitute)
- 1/2 teaspoon vanilla extract
- Red food coloring (for the stitching)
- White food coloring (optional, if you want a very bright white base)
Decorations:
- Piping bags or plastic sandwich bags (for decorating)
- Piping tips (small round tip for the stitching)
- Optional: Sprinkles or edible glitter for extra flair
Now that we’ve got everything ready, it’s time to move on to making the baseball cookies!
Step-by-Step Guide to Making Baseball Cookies
Step 1: Prepare the Dough
The first step to creating your baseball cookies is to make the sugar cookie dough. This dough is easy to work with and bakes up beautifully, holding its shape while providing the perfect base for decorating.
- Cream the Butter and Sugar: In a large mixing bowl, use an electric mixer to cream together the softened butter and granulated sugar until the mixture is light and fluffy. This should take about 2-3 minutes.
- Add the Egg and Extracts: Once the butter and sugar are well-combined, beat in the egg, vanilla extract, and almond extract (if using). Continue mixing until everything is fully incorporated.
- Mix in the Dry Ingredients: In a separate bowl, whisk together the flour, baking powder, and salt. Gradually add the dry ingredients to the butter mixture, mixing on low speed until the dough comes together. Be careful not to overmix—just blend until the flour is fully incorporated.
- Chill the Dough: Shape the dough into a disk, wrap it in plastic wrap, and refrigerate it for at least 1 hour. Chilling the dough helps it firm up, making it easier to roll and cut into shapes.
Step 2: Roll and Cut the Cookies
Now that the dough is chilled, it’s time to roll it out and cut it into baseball shapes!
- Preheat the Oven: While the dough is chilling, preheat your oven to 350°F (175°C) and line two baking sheets with parchment paper or silicone baking mats.
- Roll Out the Dough: Once the dough is firm, remove it from the fridge and roll it out on a lightly floured surface. Aim for about 1/4 inch thickness—this will give you nice, thick cookies that are easy to decorate.
- Cut Into Circles: Using a round cookie cutter (about 3 inches in diameter), cut out circles from the dough. These will be your “baseballs.” If you don’t have a round cutter, you can use a glass or a small bowl as a guide.
- Transfer to Baking Sheet: Carefully transfer the cookies to the prepared baking sheets, leaving about 1 inch of space between each cookie.
- Bake: Bake the cookies for 8-10 minutes, or until the edges are just starting to turn golden. You don’t want to overbake them—they should remain soft and slightly pale.
- Cool: Let the cookies cool on the baking sheets for 5 minutes before transferring them to a wire rack to cool completely.
Step 3: Prepare the Icing
While the cookies are cooling, it’s time to prepare the icing. This royal icing will give your cookies that smooth, professional look, and it’s perfect for adding the baseball stitching details.
- Mix the Icing: In a large bowl, beat the powdered sugar and egg whites (or meringue powder and water) together until smooth and glossy. Add the vanilla extract and mix until combined.
- Adjust Consistency: To outline and flood the cookies, you want a medium-thick icing. If the icing is too thick, add water, a few drops at a time, until it reaches the desired consistency. If it’s too thin, add a little more powdered sugar.
- Divide and Color: Divide the icing into two portions. Leave one portion white (you can add white food coloring if you want a brighter white), and dye the other portion red using the red food coloring. The red icing will be used for the stitching details on the cookies.
Step 4: Decorate the Baseball Cookies
Now comes the fun part—decorating your baseball cookies to look just like real baseballs!
- Outline and Flood the Cookies: Using a piping bag with a small round tip (or a plastic sandwich bag with the corner snipped off), pipe an outline around the edge of each cookie with the white icing. Once the outline is done, “flood” the inside of the cookie by filling it with more white icing, using a toothpick to spread it evenly. Let the icing set for about 20-30 minutes before moving on to the next step.
- Add the Baseball Stitches: Once the white icing has set, it’s time to add the iconic red stitching. Fill a piping bag fitted with a small round tip with the red icing. Carefully pipe two curved lines on each cookie to mimic the stitching on a baseball. Then, add small “V” shapes along each line to complete the stitching pattern.
- Let the Cookies Set: After decorating, allow the cookies to sit at room temperature until the icing hardens completely. This can take anywhere from 1 to 2 hours, depending on the humidity in your kitchen.
Step 5: Serve and Enjoy!
Once the icing has fully set, your baseball cookies are ready to be enjoyed! Arrange them on a platter for your next game-day party, or package them up as gifts for your fellow baseball fans.
Tips for Making Perfect Baseball Cookies
Creating baseball cookies is easy, but a few tips can help ensure that your cookies turn out perfectly every time:
- Chill the Dough: Don’t skip the chilling step! It helps the dough firm up, making it easier to cut out clean shapes, and prevents the cookies from spreading too much during baking.
- Use a Toothpick for Small Details: If you don’t have a fine-tipped piping bag, a toothpick can be an excellent tool for adding small details like the stitching on the cookies.
- Let the Icing Dry Between Layers: If you’re decorating with multiple colors or adding intricate details, be sure to let the base layer of icing dry before adding more. This prevents colors from bleeding together and ensures a neat, professional look.
Serving Suggestions for Baseball Cookies
These baseball cookies are perfect for any sports-themed occasion! Here are a few ways to serve them:
1. Game Day Snacks
Serve your cookies alongside other game-day snacks like popcorn, pretzels, and hot dogs. They’re the perfect sweet addition to any baseball-themed party or event.
2. Baseball Birthday Parties
If you’re hosting a baseball-themed birthday party, these cookies make a fantastic dessert or party favor. You can even personalize them with team colors or players’ names.
3. Tailgating Treats
Bring a batch of baseball cookies to your next tailgating event. They’re easy to transport and are sure to be a hit with fans of all ages.
4. Gifts for Baseball Fans
Wrap up a few of these cookies in cellophane bags and tie them with a ribbon for a fun and thoughtful gift for the baseball fan in your life.
Frequently Asked Questions (FAQs)
Can I use store-bought icing instead of making royal icing?
Yes, you can use store-bought cookie icing if you’re short on time. However, royal icing tends to harden more effectively, which is ideal for creating the smooth, polished look of baseball cookies.
How do I store baseball cookies?
Once the icing has fully set, you can store your baseball cookies in an airtight container at room temperature for up to a week. If you want to keep them longer, you can freeze the cookies before decorating them and then add the icing once they’ve thawed.
Can I make the dough in advance?
Yes, you can prepare the dough ahead of time and refrigerate it for up to 2 days. Just be sure to let it soften slightly before rolling it out.
Can I customize the colors for different teams?
Definitely! Feel free to customize the colors of your cookies to match your favorite baseball team. You can change the icing colors and even add team logos or initials for a more personalized touch.
Can I use a different flavor for the cookies?
While this recipe uses a classic sugar cookie base, you can experiment with different flavors like chocolate or almond. Just keep in mind that the dough needs to hold its shape during baking, so choose a recipe that works well for cut-out cookies.
Conclusion
Baseball cookies are a fun and creative way to celebrate your love for the sport. Whether you’re making them for a party, game-day celebration, or just because, these cookies are sure to be a hit. With their crisp edges, soft centers, and delightful decoration, they’re as tasty as they are cute.
This easy recipe lets you get creative with your decorating skills, making it perfect for bakers of all experience levels. So grab your ingredients, put on your favorite team’s cap, and get ready to bake a batch of these delicious baseball cookies. They’ll be a home run with friends, family, and fellow baseball fans alike!
