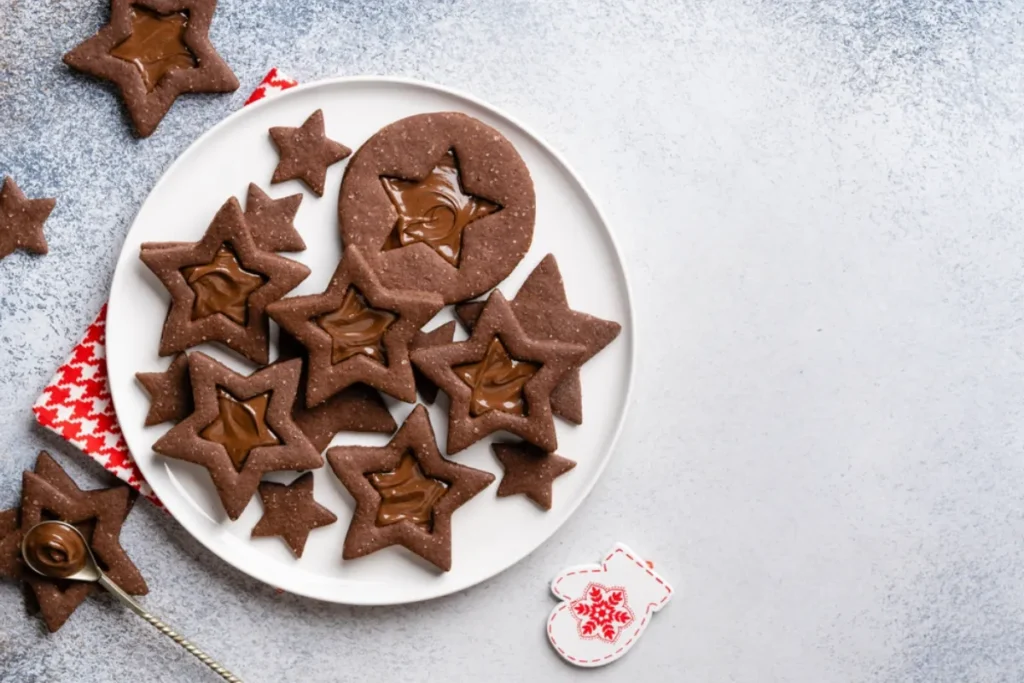
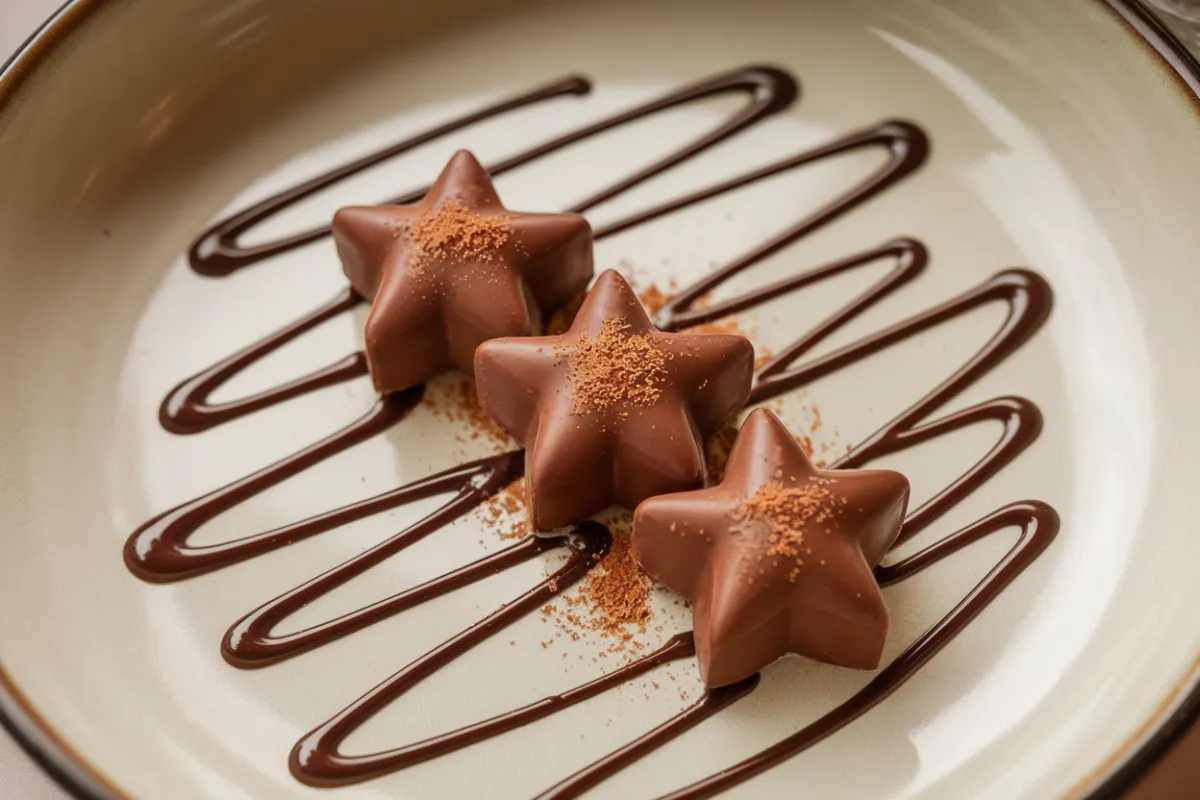
There’s something magical about crafting your own homemade chocolates, and when you shape them into delightful stars, they become even more special. Whether you’re planning a celebration, need a gift for a friend, or want to enjoy a fun and easy baking project at home, chocolate stars are the perfect treat. These sweet little confections are not only a feast for the taste buds but are also visually stunning, making them ideal for sharing or giving as gifts.
This recipe is simple enough for beginners and versatile enough for experienced home bakers. You can use dark, milk, or white chocolate, depending on your personal taste, and add a variety of fillings and toppings to create a customized batch of sweets that everyone will love. Let’s walk through the steps for making these delicious treats, explore some creative decoration ideas, and answer some common questions about the process.
What Are Chocolate Stars?
Before we dive into the recipe, let’s clarify what chocolate stars are. They are simply chocolate shaped into star molds, creating small, star-shaped candies. You can make them solid or add fillings like caramel, peanut butter, or even crunchy nuts for a surprise in the middle. These candies are often enjoyed as a standalone treat, given as gifts, or used to decorate cakes and desserts.
The star shape is perfect for festive occasions such as holidays, birthdays, and special celebrations. You can customize them to suit the occasion, whether it’s by changing the type of chocolate, adding colored sprinkles, or wrapping them up in beautiful gift packaging.

Why You Should Make Chocolate Stars
One of the best things about making chocolate stars is how easy they are to prepare. You don’t need a long list of complicated ingredients or advanced culinary skills. With just a few basic items and some creativity, you’ll have a batch of stunning chocolates in no time.
There are a few great reasons to make these sweet treats:
- Visual Appeal: The star shape adds a touch of whimsy and elegance.
- Perfect for Gifting: They make thoughtful, homemade gifts.
- Customizable: Add your favorite fillings or toppings to make each batch unique.
- Fun for All Ages: Kids and adults alike will enjoy making and eating them.
Whether you’re making them as a holiday gift, a dessert for a party, or simply a fun project at home, these chocolates will brighten any occasion.
Ingredients for Chocolate Stars
To get started on this recipe, you’ll need a handful of simple ingredients. Here’s what you’ll need:
Basic Ingredients:
- 12 oz high-quality dark, milk, or white chocolate
- 1 tablespoon coconut oil or butter (optional, for smoother texture)
- 1 teaspoon vanilla extract (optional, for flavor)
- Pinch of sea salt (optional, enhances the chocolate’s taste)
Optional Add-Ins:
- Caramel or peanut butter for filling
- Crushed nuts (almonds, hazelnuts, pistachios)
- Shredded coconut
- Edible glitter or sprinkles for decoration
Tools You’ll Need:
- Star-shaped silicone molds
- Double boiler or microwave-safe bowl for melting chocolate
- Spatula
- Piping bag (optional for adding fillings)
These ingredients are easy to find, and the tools required are common kitchen items, making this recipe accessible to everyone.
Step-by-Step Guide to Making Chocolate Stars
Now that you have your ingredients ready, let’s dive into the process. The following steps will guide you through creating these fun and delicious chocolates at home.
Step 1: Melt the Chocolate
Start by selecting the type of chocolate you want to use for your stars. You can choose dark, milk, or white chocolate, depending on your taste preferences. To melt the chocolate, you have two options: using a double boiler or the microwave.
For the double boiler method, fill a saucepan with about an inch of water and place a heatproof bowl on top, making sure it doesn’t touch the water. Add the chocolate to the bowl and stir it continuously as it melts.
If you’re using the microwave method, break the chocolate into small pieces and place them in a microwave-safe bowl. Heat the chocolate in 30-second intervals, stirring after each session until it’s smooth.
Optional: If you want to make the chocolate a bit smoother and shinier, you can add a tablespoon of coconut oil or butter while melting.
Step 2: Prepare the Molds
While the chocolate is melting, prepare your silicone molds. Silicone molds are great because they make it easy to remove the chocolates once they’ve set. Lightly grease the molds with a neutral oil or spray to ensure the chocolates come out perfectly.
Step 3: Fill the Molds
Once your chocolate is fully melted and smooth, it’s time to fill the molds. You can either pour the chocolate directly into the molds or use a spoon to do it neatly. If you want to add fillings, like caramel or peanut butter, only fill the molds halfway with chocolate, add a small spoonful of filling, and then top it off with more chocolate.
To ensure a smooth finish, gently tap the molds on the counter to release any trapped air bubbles.
Step 4: Chill and Set
Place the filled molds in the refrigerator for at least 30 minutes to allow the chocolate to fully set. You can also speed up the process by putting them in the freezer for about 15 minutes if you’re in a hurry.
Step 5: Unmold and Decorate
Once the chocolate has hardened, gently pop the chocolates out of the molds. If you’d like to decorate your stars, you can drizzle more chocolate on top, add edible glitter, or sprinkle crushed nuts or shredded coconut over them.
Step 6: Store and Enjoy
You can store the finished chocolates in an airtight container at room temperature for up to two weeks. These chocolate stars are perfect for snacking, gifting, or using as decorations for cakes and cupcakes.
Creative Decoration Ideas for Chocolate Stars
Once you’ve mastered the basic recipe, the fun part is experimenting with decorations. Here are some ideas to add a creative twist to your chocolates:
1. Colored Chocolate Drizzle
Melt white chocolate and add food coloring to create a colorful drizzle. You can drizzle different colors over your chocolate stars for a vibrant, festive look.
2. Crushed Candy or Cookies
Top your stars with crushed candy canes, Oreos, or any other crunchy topping for an added layer of texture and flavor.
3. Edible Glitter
For a touch of glamour, sprinkle edible glitter over your chocolates. This works particularly well for special occasions or holiday gifts.
4. Nuts and Sea Salt
If you enjoy a sweet and salty combination, sprinkle sea salt or crushed nuts on top of the chocolates before they set. This adds a lovely contrast to the sweetness of the chocolate.
5. Personalized Fillings
You can fill your stars with a variety of ingredients such as caramel, peanut butter, or fruit-flavored ganache. The soft center adds a surprise element to each bite
Creative Ways to Use Chocolate Stars
In addition to being a delicious treat on their own, there are plenty of ways to use your homemade chocolate stars in different desserts and occasions.
1. Cake and Cupcake Toppers
Use these chocolates as decorative toppers for cakes and cupcakes. They add an elegant touch to any dessert and can be customized with different colors or designs.
2. Party Favors
Wrap individual chocolates in clear bags or small boxes and give them out as party favors. They’re perfect for weddings, birthdays, or holiday parties.
3. Hot Chocolate Stir Sticks
Attach a chocolate star to a stir stick and use it to stir hot milk. As the chocolate melts, it turns into a delicious hot chocolate drink, perfect for cozy evenings.
4. Gift Boxes
Create a custom gift box filled with chocolate stars for a thoughtful and homemade present. Pair them with other treats like cookies, truffles, or homemade candies.
5. Dessert Garnish
Sprinkle these chocolates over ice cream or pudding for an extra indulgent dessert.
Frequently Asked Questions (FAQ)
1. How should I store my chocolate stars?
Store them in an airtight container at room temperature, away from direct sunlight and heat. They’ll stay fresh for up to two weeks, but you can also refrigerate them if needed.
2. Can I freeze chocolate stars?
Yes, you can freeze them. Place the stars in a single layer on a tray until they’re frozen, then transfer them to an airtight container or freezer bag. They can last up to three months in the freezer.
3. What if I don’t have a star-shaped mold?
If you don’t have a star-shaped mold, you can use any other silicone mold or even make chocolate discs on parchment paper by spooning small rounds of chocolate and shaping them.
4. Can I use chocolate chips instead of bars?
Yes, you can use chocolate chips, but they may not melt as smoothly as high-quality chocolate bars. If using chocolate chips, melt them slowly to avoid burning.
5. Can I make these chocolates vegan?
Absolutely! You can use dairy-free chocolate and coconut oil instead of butter to make these chocolates vegan-friendly.
6. Can I use flavored chocolate?
Yes, you can use flavored chocolate such as mint or orange for a unique twist on the classic recipe.
7. Can I add alcohol to the chocolate?
Yes, you can mix a small amount of alcohol, like Baileys or rum, into the melted chocolate to create an adult-friendly version of these treats. Be careful not to add too much, as it could affect the consistency of the chocolate.
Conclusion
In conclusion, making chocolate stars at home is a fun, simple, and creative way to enjoy delicious homemade treats. These star-shaped chocolates are not only visually stunning but also incredibly versatile, making them perfect for any occasion—from holidays and birthdays to everyday indulgences. The basic recipe can be easily customized with different types of chocolate, fillings, and toppings, allowing you to create a unique and personalized batch every time. Whether you choose to make them solid or filled with caramel, peanut butter, or nuts, they offer a delightful bite that will satisfy any sweet tooth.
Additionally, these chocolates make excellent gifts, party favors, or elegant cake decorations. You can package them beautifully or use them to add a decorative touch to a dessert platter. With just a few ingredients and a star-shaped mold, you can turn simple chocolate into something truly special. Best of all, this recipe is accessible for bakers of all skill levels, from beginners to seasoned pros. So, gather your ingredients, melt some chocolate, and enjoy the process of making these sweet and charming chocolate stars—a treat everyone will love!
