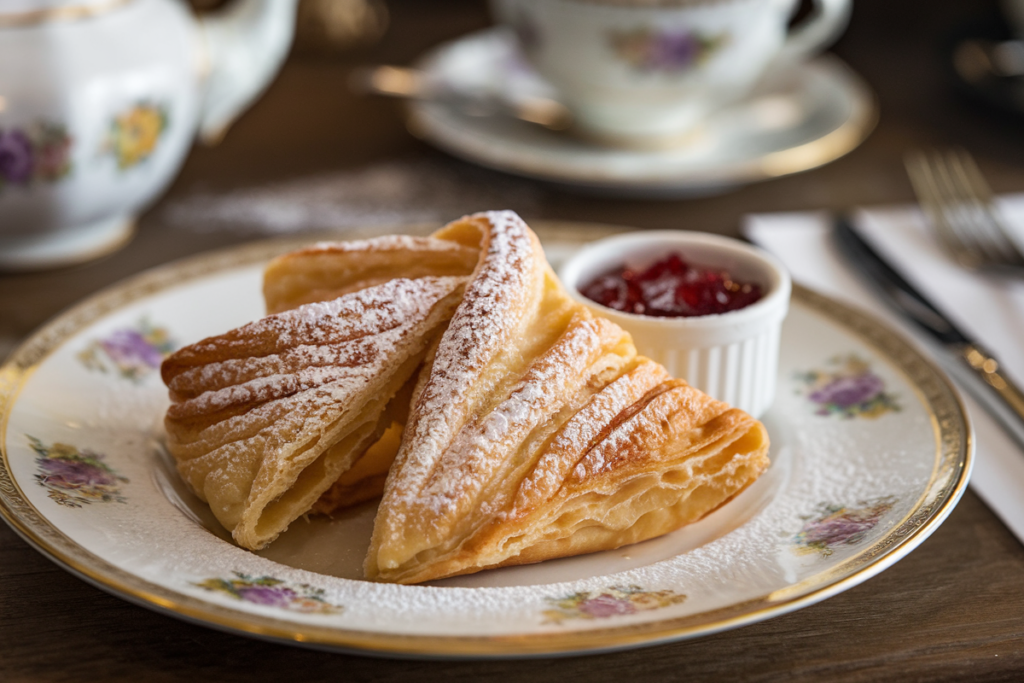
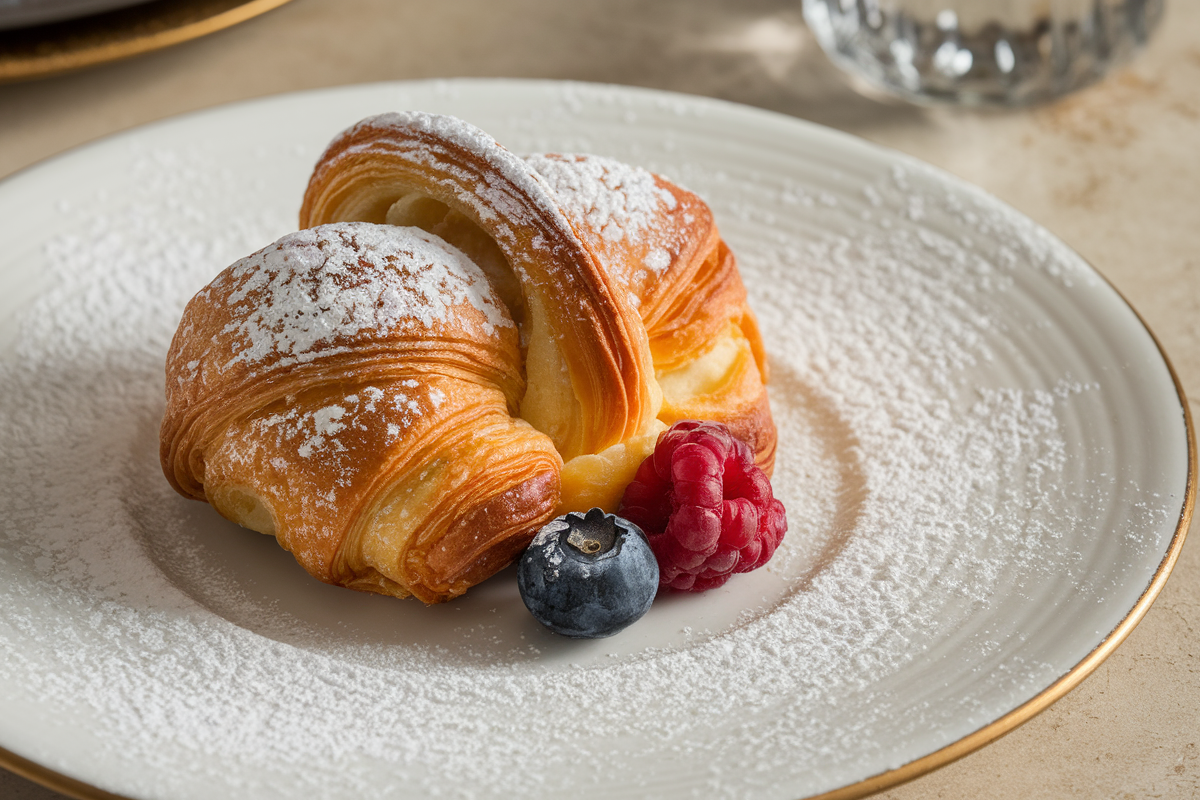
If you’re a fan of flaky pastries and have always wanted to bring a taste of Switzerland into your kitchen, you’re in for a treat! This Gipfeli recipe will guide you through every step of making traditional Swiss croissants, known as Gipfeli, right at home. These delicious crescent-shaped pastries may resemble their French cousins—the croissant—but they have a unique Swiss twist, with a slightly denser texture and less buttery layers.
In this guide, we’ll dive into the history of Gipfeli, explore the ingredients needed, and provide a detailed step-by-step guide to ensure that you get perfect Gipfeli every time. Whether you enjoy them for breakfast or as a snack, you’ll find this Gipfeli recipe easy to follow and rewarding to make.
What is Gipfeli?
The Swiss have their own version of croissants, known as Gipfeli. Although similar to croissants in shape, Gipfeli tends to be less flaky and has a slightly different dough consistency. They are typically enjoyed with coffee in the morning or as a snack during the day. One bite of this Swiss pastry, and you’ll fall in love with its mild, buttery flavor and soft texture.
The name “Gipfeli” comes from the Swiss-German dialect and means “little peak,” referencing the crescent shape of the pastry. This pastry has deep roots in Swiss culture and is often enjoyed fresh from the bakery or made at home using traditional methods. By mastering this Gipfeli recipe, you can bring the authentic flavor of Switzerland into your own kitchen.
Ingredients for the Perfect Gipfeli Recipe
Before starting the process, it’s essential to gather all the ingredients needed for this Gipfeli recipe. These are the basics you’ll need to create that perfect balance of fluffiness and flavor in your homemade Gipfeli.

Basic Dough Ingredients:
- 500g all-purpose flour
- 60g granulated sugar
- 10g salt
- 25g fresh yeast (or 1 packet of active dry yeast)
- 250ml warm milk
- 50ml warm water
- 250g cold unsalted butter (for laminating the dough)
- 1 egg (for egg wash)
Optional Fillings:
- Swiss chocolate (for a sweet version)
- Nutella or fruit jam
- Ham and Swiss cheese (for a savory option)
Now that you have all the ingredients ready, it’s time to move to the dough preparation, which is the heart of this Gipfeli recipe.
Step-by-Step Gipfeli Recipe: From Dough to Delicious
Step 1: Making the Dough for Gipfeli
The dough is the foundation of any great pastry, and this Gipfeli recipe starts with a simple yet effective dough that ensures you get soft and flaky results.
- Activate the Yeast: Begin by dissolving your yeast in warm water and let it sit for about 5 minutes until it starts to bubble. This activation is crucial to ensure your dough rises well.
- Combine Dry Ingredients: In a large mixing bowl, whisk together the flour, sugar, and salt. This ensures an even distribution of the ingredients, which is important for achieving consistent dough texture.
- Mix Wet and Dry: Slowly pour the yeast mixture and warm milk into the bowl of dry ingredients. Stir to combine. You can either use a stand mixer with a dough hook or mix by hand. Knead the dough for about 10 minutes until it’s smooth and elastic.
- Rest the Dough: Place the dough in a lightly greased bowl and cover it with a damp cloth. Let it rise in a warm place for 1-2 hours, or until it doubles in size.
This step is essential in achieving a soft, airy texture for your Gipfeli. Make sure the dough rises properly before proceeding to the next step in the Gipfeli recipe.
Step 2: Laminating the Dough for Flakiness
Laminating the dough, which involves layering butter between sheets of dough, is the key to achieving the layers of a traditional Gipfeli recipe.
- Prepare the Butter: Take the cold butter and roll it out between two sheets of parchment paper into a flat square, about 15cm by 15cm. Put this butter sheet in the refrigerator to firm up again while you roll out the dough.
- Roll Out the Dough: Once your dough has doubled in size, punch it down and roll it into a rectangle, about 40cm by 20cm.
- Encase the Butter: Place the chilled butter square in the center of the rolled-out dough. Fold the dough over the butter, fully encasing it. You should now have a dough-butter package.
- First Roll and Fold: Roll out the dough again into a large rectangle. Fold it into thirds, like folding a letter. This is the first turn, which creates those buttery layers we associate with croissants and Gipfeli.
- Repeat the Process: Repeat the rolling and folding process three more times, chilling the dough in the fridge for 20-30 minutes between each fold. This creates the multiple layers of butter and dough, which result in a flaky pastry.
Laminating the dough is the most important technique in this Gipfeli recipe, so take your time and make sure your butter remains cold throughout the process.
Step 3: Shaping the Gipfeli
Once the dough has been laminated, it’s time to shape your Gipfeli, which gives these pastries their iconic crescent shape.
- Roll the Dough: After completing the final fold, roll the dough out to a thickness of about 5mm. Cut the dough into long triangles, with the base of each triangle being about 10cm wide.
- Form the Crescents: Starting from the wide base, gently roll each triangle towards the tip. Make sure you roll tightly, but without pressing too hard, to keep the layers intact. Curve the rolled dough slightly to form a crescent shape.
- Add Fillings (Optional): If you’re using fillings like Swiss chocolate, place a small piece at the base of the triangle before rolling. This creates delicious chocolate-filled Gipfeli, perfect for a sweeter variation of the traditional Gipfeli recipe.
Step 4: Proofing the Gipfeli
Proofing is the final step before baking and allows the dough to rise a little more, creating a light and fluffy texture.
- Proof the Pastries: Place the shaped Gipfeli on a parchment-lined baking tray, leaving enough space between them to allow for expansion. Cover with a clean kitchen towel and let them proof for about 45 minutes to an hour in a warm place.
- Preheat the Oven: While the Gipfeli are proofing, preheat your oven to 200°C (390°F). Proper preheating ensures even baking, which is crucial for this Gipfeli recipe.
Step 5: Baking the Gipfeli
Now for the moment you’ve been waiting for—baking the Gipfeli! This step will fill your home with the irresistible aroma of freshly baked pastries.
- Brush with Egg Wash: Before putting the Gipfeli in the oven, lightly brush them with an egg wash made from one beaten egg mixed with a tablespoon of water. This gives the pastries a beautiful golden-brown color.
- Bake the Gipfeli: Bake the Gipfeli for 15-20 minutes, or until they are golden brown and puffed up. Keep an eye on them towards the end to avoid overbaking.
- Cool and Serve: Once baked, remove the Gipfeli from the oven and let them cool slightly on a wire rack. They’re best enjoyed fresh and warm, but they also store well for a day or two.
Tips for Perfecting Your Gipfeli Recipe
Even though the process of making Gipfeli might seem intricate, these tips will help you achieve the perfect Swiss croissant every time.
1. Keep Everything Cold
Keeping the dough and butter cold throughout the laminating process is crucial. Warm butter will melt into the dough, ruining the layers that make Gipfeli so special.
2. Don’t Rush the Rising Time
Patience is key to this Gipfeli recipe. Giving the dough enough time to rise ensures the right texture and structure. If you’re short on time, you can let the dough rise in the fridge overnight.
3. Avoid Overfilling
If you’re adding fillings like chocolate or cheese, resist the temptation to overstuff the Gipfeli. Too much filling can cause the pastries to burst open during baking.
4. Use a Sharp Knife
When cutting the dough into triangles, use a sharp knife to ensure clean edges. This helps maintain the layers and improves the final texture.
Serving Suggestions for Gipfeli
Gipfeli can be enjoyed in many ways, making them a versatile pastry that’s perfect for any time of day.
For Breakfast:
Serve plain butter Gipfeli with a side of fresh jam or honey for a classic Swiss breakfast. Pair with a cup of strong coffee for an authentic Swiss experience.
Chocolate-Filled Gipfeli:
These are perfect for anyone with a sweet tooth. Add a square of Swiss chocolate inside each Gipfeli before rolling them up. Once baked, the chocolate melts into a gooey filling that’s absolutely irresistible.
Savory Gipfeli:
For a savory twist, try filling your Gipfeli with ham and Swiss cheese. This makes them a great option for a light lunch or snack. Serve them with a simple green salad for a balanced meal.
Frequently Asked Questions (FAQ) About Gipfeli Recipe
1. What’s the difference between Gipfeli and croissants?
Although they look similar, Gipfeli are less buttery and slightly denser than traditional French croissants. The dough used in this Gipfeli recipe results in a more compact pastry with a mild flavor, while croissants are typically lighter and more buttery.
2. Can I freeze Gipfeli dough?
Yes, you can freeze Gipfeli dough! After the laminating process, wrap the dough tightly in plastic wrap and freeze for up to 3 months. When ready to use, thaw the dough in the fridge overnight, then continue with shaping and baking.
3. Can I make Gipfeli in advance?
You can prepare the dough a day ahead and refrigerate it overnight. The next day, simply roll out, shape, proof, and bake. Alternatively, you can freeze shaped Gipfeli and bake them fresh whenever needed.
4. Why didn’t my dough rise?
If your dough didn’t rise, it could be due to inactive yeast or an environment that’s too cold. Make sure your yeast is fresh and that your dough is proofed in a warm, draft-free area.
5. How should I store leftover Gipfeli?
Store leftover Gipfeli in an airtight container at room temperature for up to 2 days. To refresh them, pop them in a preheated oven for 5 minutes before serving.
Conclusion: Mastering the Art of Swiss Gipfeli
Making Gipfeli at home may seem like a challenge, but with this comprehensive Gipfeli recipe, you’ll soon be baking Swiss croissants that are just as delicious as those from any Swiss bakery. The process, from preparing the dough to laminating it with butter, rolling it into the iconic crescent shape, and finally baking them to golden perfection, is incredibly rewarding.
Whether you opt for the classic butter Gipfeli or experiment with fillings like Swiss chocolate or savory ham and cheese, these versatile pastries are a perfect addition to any breakfast table or snack time. The key to mastering the Gipfeli recipe lies in patience, particularly during the laminating and proofing stages, as this is where the dough transforms into the light, layered pastry that defines Gipfeli.
By following this step-by-step guide, you can bring the authentic flavors of Switzerland into your own kitchen. As you gain experience, you can customize your Gipfeli to suit your taste and explore different variations. So why not give this recipe a try? Your homemade Gipfeli will surely impress family and friends alike!
